Saturday, 22 February 2014
Finished low poly model
So this is my final low poly model which I have to hand in next Friday. I was told that the planes I had put on the arm for wires wouldn't work and so I've now modeled more wires onto it and will have to texture some straight onto the arm. Whilst the idea of relying so much on textures worries me, I feel that I have done all I could with the amount of polygons I was given to create this vehicle. I have started UVing my model and will post updates as I go.
Tuesday, 18 February 2014
Digger UVing
So I've started UV mapping my digger to save me work later since I have some spare time until I can have the model marked and checked. I did this through a new method which I haven't used before which is planar mapping using the best plane option and then changing the projection height and width to 400. The important part of the method is the last bit, changing the projection height and width to the same number for everything makes all the UV's be in the same scale so no issues trying to size everything up later! As you can see below I haven't tried organizing it all onto the UV space as I wish to unwrap it all first and then at the end I will make certain parts smaller if they can't be seen easily etc. You can also see where I have unwrapped so far on the digger picture, I have done a lot of the main body already, I plan to try and finish off the rest of the arm tonight except the wires which I still need checked by my lecturer.
Labels:
3D,
Construction,
Mapping,
Maya,
Planar,
Unwrap,
Unwrapping,
UV,
Vehicle
Sunday, 16 February 2014
Digger, low poly model finished (hopefully)
Saturday, 15 February 2014
Digger - Nearly complete low poly
I haven't updated this in a while so here's an update on my digger model. The model is mostly complete now with a lot of detail being given to the front claw area and the wiring under the arm of the digger. I went through the model recently optimizing all the parts, getting rid of faces which won't be seen and merging unnecessary vertices. I have now used 5057 triangles on the model now giving me 943 left to update it. There is little to do for my low poly model now, I plan to add wiring to the top area of the arm, using 3 sided cylinders since it won't be seen up close by any players, but before that I want to give the model a once over and make sure all of it is the right shape and size as my lecturer noticed a few parts which weren't like how they are in my pictures. Then I will give it the once over and UV the model before starting to make high poly bakes of certain parts of the model that need it most.
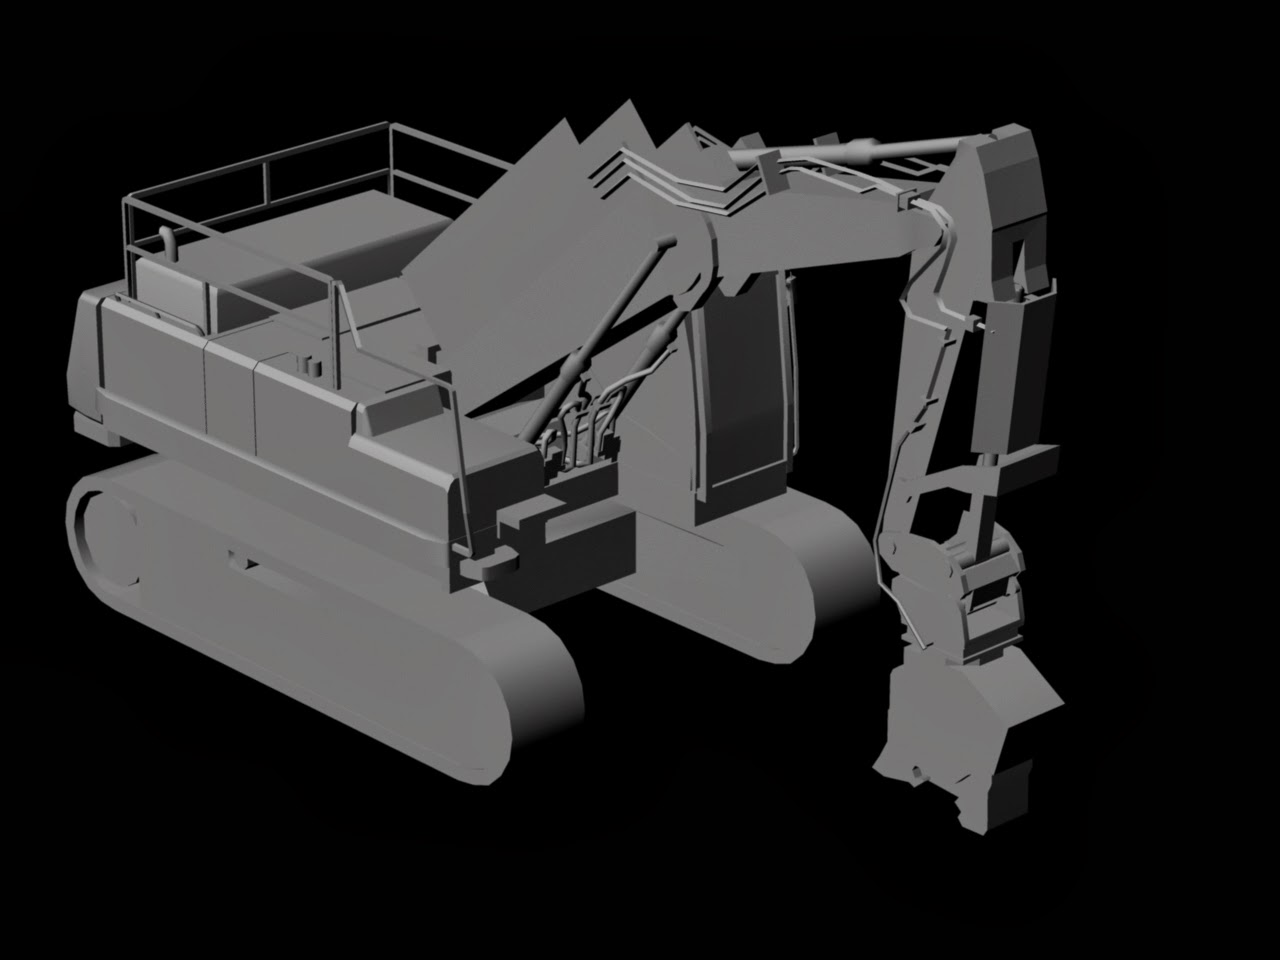
The wiring and claw details that I added.
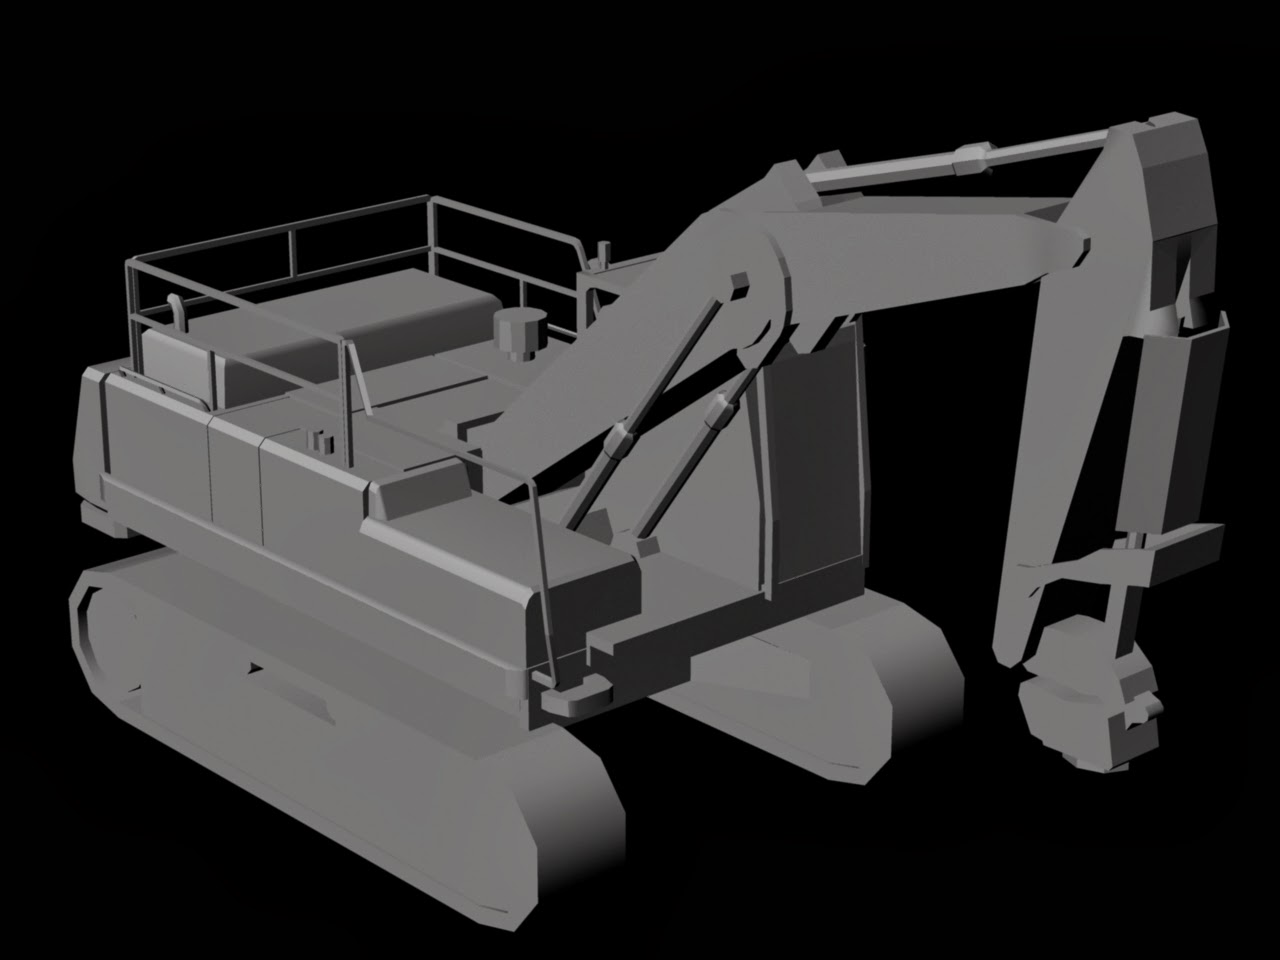
The wires I plan to add next.
Labels:
3D,
Construction,
Low,
Maya,
Optimization,
Poly,
Vehicle
Friday, 7 February 2014
Finished block out
So this is my finished block out which is 4176 triangles. In the end I added to much detail for it to be a block out but that's what I'll call it. I'm pretty happy with it and once I have been given feedback by my lecturer then I will start working on other things. What I think I will do is add some wires and a little bit of detail under the arm of the digger.
Wednesday, 5 February 2014
Nearly Finished Blockout
So this is my block out in its nearly finished state. Honestly I'm really happy with it for the most part, much of it won't even need changing when it comes to the extra detailing after this. I still have over 2000 triangles to use in the model. Some areas will need improving but the arm is my favorite part, I do not think it needs much in the way of changes. I still need to create the claw but that is all for the block out.
JCB Progress Shots
So this is another pair of progress shots of my JCB vehicle. As you can see, I have now blocked out everything but the arm of the vehicle which I will do today. I think I have spent my polygons wisely yet in some areas I have added enough detail that they won't need to be changed when I'm adding detail. My polycount so far is at 2202 Tri's whilst my limit is 6000. I think I'm doing quite well with it so far, the only part I am really worried about polygon wise is the tube's situated along and at the base of the arm, these will be challenging to get withing the limit. Anyway, progress is being made.
Tuesday, 4 February 2014
Start of modelling
So I have finally actually started modelling. As you can see in my scene, I have side and front pictures in so far (the photo has my unskewed drawing behind it, I switch between them to get a clearer look at things). I have blocked out my tracks and made the base of the cab. I'm trying to keep everything very poly efficient at this point as I don't know how many I'll use overall. I can always go back and redo areas of it and add more detail. Anyway, I'll continue modelling now, just a progress shot really.
Front view without arm
So today I finished the front view off of my vehicle. As you can obviously see, it doesn't have it's arm in the picture. My reason for this is that it would block much of the model and I plan to draw the arm separately so that I can use it when I need to but can see the rest whenever I like too. Also below you can see my updated side view which has a few small details added but is much the same. I am finding this very difficult to un-skew all my images due to the size of the vehicle, honestly I'm surprised at the mark I got for my photos. Anyway, I will draw the arm out now and then finally start modelling.
Monday, 3 February 2014
Updated block out
After trying to use the image from my previous post to help me block out my model I ran into several problems. The main problem was the perspective in the image. It wasn't directly from the side as it needed to be. The main areas that were problems were the tracks and JCB's arm as they were the lowest and highest parts on the vehicle respectively meaning that they showed some of the depth in the object, not a flat image as is needed. So to combat this problem I decided to draw out my own image from the side. I could keep many things the same such as the majority of the cab and upper arm but some areas needed more help such as the details on the back of the cab. This involved going through many images and piecing together where things happened, e.g. where the pipes begin and end, how exactly they form etc. This has most of the detail that I will need to model on it which is good. I plan to do one from the front and then possibly the other side too. I won't do one from the back as it is really simple, all the details can be seen from between the side and front views.
Subscribe to:
Posts (Atom)